Inaccurate observations in labs often start with improper slides and cover slips; learning how to select the correct microscope slides and cover slips ensures precise microscopy.
Precision tools are critical in microscopy because even small errors can affect specimen imaging and analysis. Reliable results depend on both the quality of the slide and the cover slip used in the lab, which is why Blue Star Slides focuses on delivering consistent and dependable products.
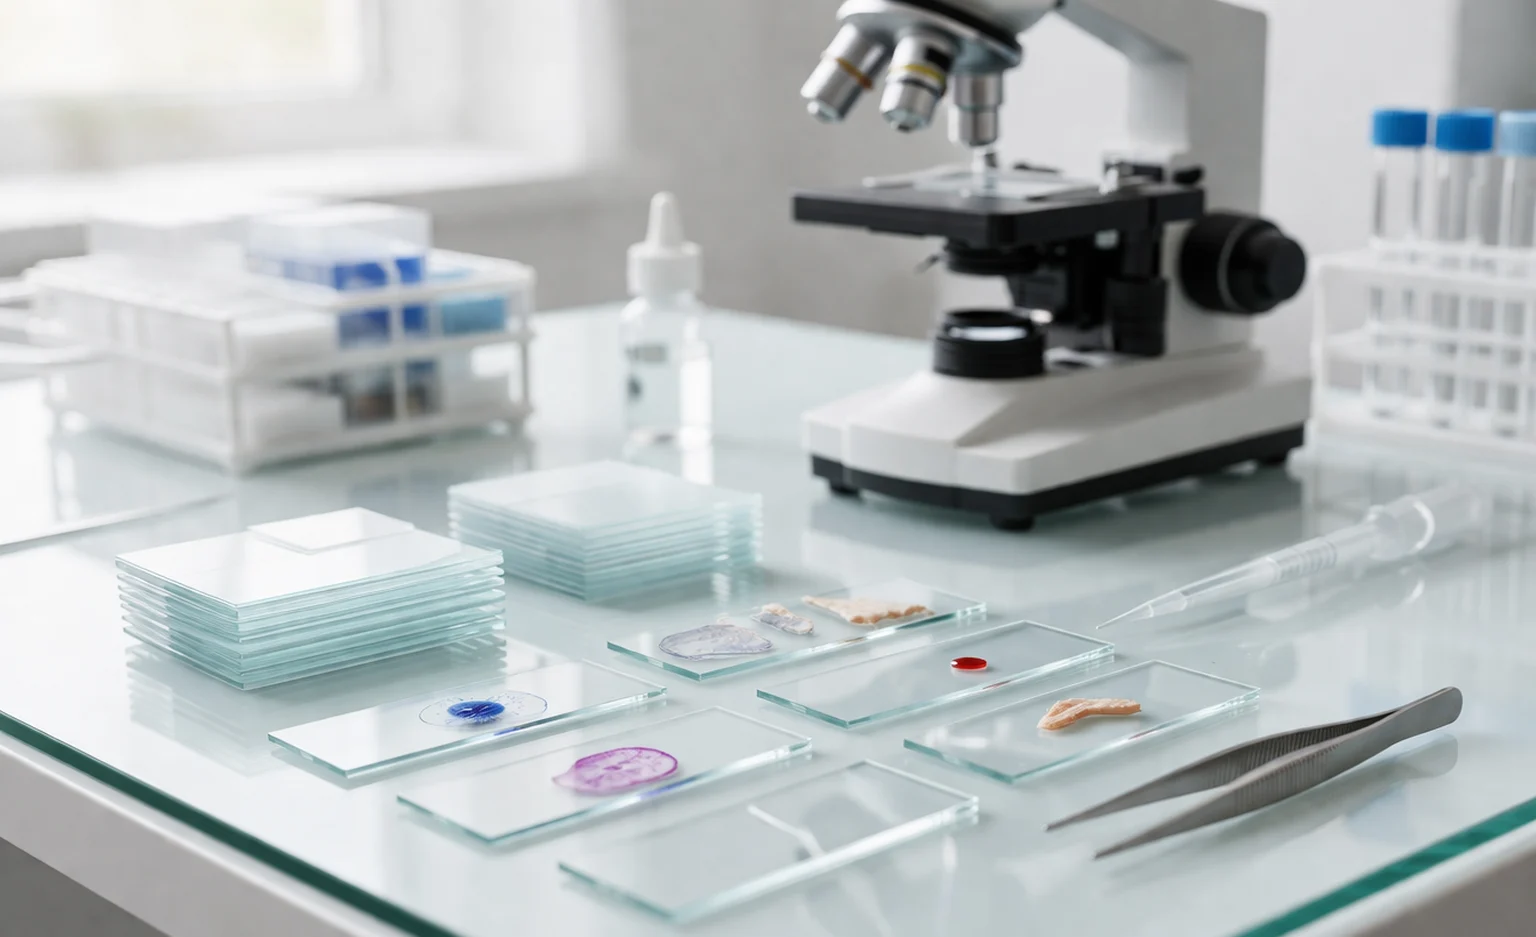
Microscope slides and cover slips are essential components for preparing and observing specimens. Slides provide a stable platform, while cover slips protect samples and improve optical clarity. Understanding their roles helps laboratories maintain consistent, accurate results.
When used together, microscope slides and cover slips ensure proper specimen mounting, prevent contamination, and support high-quality imaging. Selecting the right combination is key to clear observations and reliable laboratory outcomes.
What Are Microscope Slides?
A microscope slide is a thin, flat piece of glass that serves as a base for specimens during observation. It keeps samples stable and ensures precise imaging under the microscope.
- Size and Structure:
Most slides measure 75mm long and 25mm wide, with consistent thickness to fit standard laboratory microscopes. This uniformity helps avoid distortion and ensures proper focus.
- Varieties Available:
- Plain or frosted-end slides for easy labelling
- Cavity or concave slides for holding liquids or small samples
- Adhesive-coated slides for mounting fragile or permanent specimens
- Material Choices:
Slides are commonly made from soda-lime glass for routine use or borosilicate glass when chemical resistance and durability are needed.
What is a Laboratory Cover Slip?
A laboratory cover slip is a thin piece of glass or plastic that sits over a specimen on a microscope slide. Its main purpose is to protect the sample, prevent contamination, and enhance optical clarity during observation.
- Common Sizes and Thickness:
18 x 18mm, 22 x 22mm, 24 x 60mm
- Thickness options: 1mm, 1.5mm, 2mm
Choosing the right size and thickness ensures compatibility with different microscope objectives and accurate imaging.
- Material Options:
- Glass cover slips are ideal for permanent mounting, histology, and high-precision imaging.
- Plastic cover slips are suitable for educational labs, cell cultures, or live specimens where flexibility and cost-efficiency matter.
Proper selection of a microscope cover slip ensures clear, reliable observations and protects the integrity of your specimens. Using the correct cover slip also reduces the risk of damage to both the sample and the microscope objective, supporting consistent lab results.
How Cover Slips for Microscope Slides Work Together
Proper specimen preparation depends on how slides and cover slips are used together. The right method ensures clarity, prevents damage, and supports accurate observation in laboratory settings.
Step-by-Step Mounting Process:
- Place the specimen at the centre of the slide.
- Add a drop of mounting media such as water, oil, or resin.
- Lower the cover slip at a slight angle and gently place it over the specimen.
- Allow the liquid to spread evenly without trapping air.
Mounting media plays a key role by filling the gap between the slide and the cover slip, improving visibility, and keeping the specimen stable. The cover slip also protects the sample from dust and contamination while maintaining its structure during observation.
Thickness is equally important, especially when using high-magnification objectives, as it directly affects focus and image sharpness. Using cover slips for microscope slides correctly ensures consistent results and better imaging quality across different lab applications.
Choosing the Right Cover Slip for Your Application
Selecting the correct cover slip depends on the type of specimen, microscope, and lab requirements. Each application demands specific properties to maintain accuracy and consistency in results. The right choice improves clarity, protects samples, and ensures accurate results.
Key Factors to Consider:
- Thickness: 1.5mm is commonly used for most laboratory objectives
- Size: Choose based on specimen area and slide dimensions
- Material: Glass for precision, plastic for flexibility and cost control
Application-Based Selection:
- Histology and pathology labs: Glass cover slips are preferred for permanent mounting and detailed analysis
- Cell culture and live imaging: 1.5mm glass or plastic cover slips support better observation of live samples
- Educational and basic labs: Plastic or soda-lime glass cover slips offer a practical and economical option
Always ensure the cover slip thickness matches the microscope objective specification to maintain proper focus and avoid image distortion. Making the right selection of a laboratory cover slip supports consistent performance and reliable laboratory outcomes.
Tips for Proper Handling and Storage
Proper handling of slides and cover slips is essential to maintain their quality and ensure accurate observations. Small handling errors can reduce clarity and affect final results. Following simple storage practices helps maintain consistency across laboratory processes.
Best Practices to Follow:
- Keep them clean and dry: Dust particles or moisture can settle on the surface and interfere with specimen visibility during observation.
- Use lint-free gloves: Handling without protection may leave marks or fibres that reduce image sharpness under the microscope.
- Store in an upright position: Vertical storage in slide boxes or trays minimises surface contact and lowers the risk of scratches or breakage.
- Remove damaged pieces: Cracked or chipped cover slips can distort focus and lead to inaccurate imaging results.
Consistent handling practices help maintain the integrity of both slides and specimens over time. Well-maintained materials also improve workflow efficiency and reduce the need for repeat observations.
Common Mistakes to Avoid
Accurate microscopy depends on careful preparation, but small oversights can lead to poor imaging results. Many of these issues occur during routine handling and are often overlooked in busy lab environments. Identifying these issues early helps laboratories maintain precision and avoid unnecessary rework.
Where Things Often Go Wrong:
1. Mismatch in thickness
Using a cover slip that does not match the objective lens specifications can affect focus and reduce image sharpness.
2. Incorrect amount of mounting media
Excess of liquid may spread beyond the specimen, while insufficient media can leave areas uncovered, both of which affect clarity.
3. Air trapped during placement
Lowering the cover slip without proper angle control can create bubbles that obstruct the field of view.
4. Wrong material for specific use
Plastic cover slips used with oil-immersion objectives may not perform correctly and can affect both imaging and equipment.
Avoiding these common errors helps ensure consistent specimen preparation and dependable results. Paying attention to these details also improves workflow reliability and supports better decision-making in laboratory analysis.
A Practical Approach to Better Laboratory Results
Clear and accurate microscopy begins with the right foundation, and even small components like slides and cover slips can influence final results. Consistent specimen preparation and proper material selection help laboratories maintain precision in every observation.
Selecting appropriate sizes, materials, and thicknesses improves imaging and reduces errors during analysis. Blue Star Slides provides carefully designed products that support reliable performance across different laboratory needs. Their focus on quality and consistency helps labs achieve dependable outcomes.
For laboratories aiming to improve efficiency and accuracy, investing in the right microscope slides and cover slips is a practical step. Explore the available options to find solutions that match specific applications and support consistent, high-quality results.